
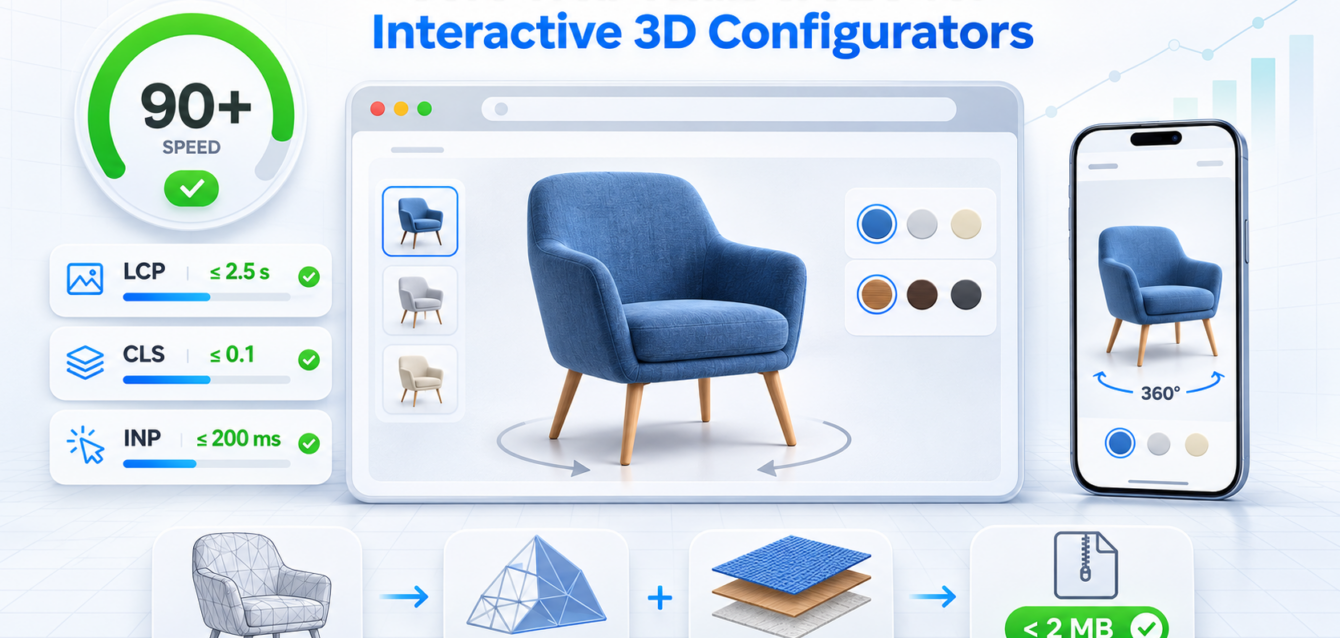
3D configurator Core Web Vitals optimization is the process of protecting page speed, visual stability, and interaction responsiveness while delivering a real-time WebGL experience. The most reliable approach renders useful HTML, product copy, calls to action, and a lightweight poster first, then initializes compressed 3D assets only when the visitor is ready to interact.
Interactive product visualization can improve buyer confidence, but an unplanned implementation can create a heavy initial download, block the main thread, shift the page layout, and delay the moment when visitors can use the page. The goal is not to chase a laboratory score in isolation. It is to build a fast sales experience that remains discoverable, measurable, and smooth on real mobile devices.
Why Heavy WebGL Pages Struggle With Core Web Vitals
Direct answer: WebGL pages usually fail performance audits when large models, textures, JavaScript bundles, video backgrounds, and third-party scripts compete during the initial render. The browser spends critical time downloading and decoding assets instead of painting the main product message, stabilizing the layout, and responding quickly to user input.
Most 3D performance problems begin with loading order. If a configurator downloads a 10MB model, initializes the rendering engine, compiles shaders, and requests multiple textures before the heading or CTA appears, Largest Contentful Paint can suffer. If the viewer has no reserved dimensions, the final canvas can push surrounding content after load and increase Cumulative Layout Shift. Long synchronous initialization tasks can also delay interaction responsiveness.
A strong architecture assigns priorities. Search-visible HTML, the page heading, decision-making copy, pricing context, and the primary CTA are critical. The interactive canvas is important, but it does not need to monopolize the first second of the visit. Ink & Algorithm’s high-performance 3D product configurator development process treats the viewer as part of the conversion journey rather than a standalone technical demo.
Render a Crisp Static Poster Before WebGL Initializes
Direct answer: Use a correctly sized static product poster as the initial visual layer, render text and CTAs in server-delivered HTML, and initialize WebGL after interaction, idle time, or viewport entry. This lets visitors understand the offer quickly while the browser postpones expensive 3D engine work.
The poster should match the first 3D camera angle closely so the transition feels intentional. Define its width and aspect ratio in advance, place it inside the same container used by the canvas, and provide a visible “Explore in 3D” control. This prevents layout movement and gives users a clear expectation that the visual is interactive.
For server-rendered storefronts, keep the page shell and commercial content independent from the 3D runtime. Dynamic imports can prevent Three.js, React Three Fiber, PlayCanvas, or related libraries from entering the critical rendering path. The interactive application can hydrate only when the browser is ready. Our guide to headless 3D configurator architecture explains how this separation supports modern Next.js storefronts.
Do not hide essential product information inside the canvas. Search engines and assistive technologies should be able to access names, features, options, dimensions, and calls to action as normal page content. The 3D experience should enhance that information, not become the only place where it exists.
Engineer a Sub-2MB Initial 3D Payload
Direct answer: A sub-2MB initial payload requires geometry cleanup before compression, Draco for mesh data, KTX2 or Basis Universal for textures, limited material variants, and staged loading. Web workers can move supported decoding work away from the main thread, reducing competition with the page’s first render and early interactions.
Compression is most effective after the asset has been prepared correctly. Remove hidden interior geometry, suppress small fasteners and manufacturing-only details, merge compatible meshes, instance repeated components, and simplify surfaces according to their visual importance. A dense CAD export remains expensive even when the transfer file is compressed.
Texture strategy is equally important. Use resolutions based on real screen coverage, not the largest available source file. Channel packing can reduce separate requests, while KTX2 enables compact GPU-oriented texture delivery. Reserve higher-resolution maps for close-up components and stream them only when needed. The default configuration should be the smallest complete experience.
Draco decoding, texture transcoding, and scene preparation still consume processing time. Measure the cost on mid-tier Android hardware instead of assuming that a smaller download always means a faster interaction. Progressive levels of detail can load a usable model first and add refinement only when the user zooms or changes configuration.
Prevent Main-Thread Blocking During Initialization
Direct answer: Break initialization into small stages, defer nonessential analytics and UI work, use web workers where supported, and avoid rebuilding the entire 3D scene after every selection. The main thread should remain available for scrolling, tapping, form controls, and cart actions while the viewer prepares assets in the background.
Large JavaScript bundles can be split so only the code required for the default view is loaded initially. Product rules, optional effects, export tools, and advanced camera modes can arrive later. Avoid executing expensive loops during hydration, and cache parsed assets when visitors move between related products.
Configuration state should also be decoupled from rendering state. A color change should update the relevant material, not trigger a full storefront or scene rerender. Stable state boundaries improve responsiveness and make analytics events easier to interpret. This architecture is especially useful for complex commerce flows such as the Shopify Plus 3D configurator integration pattern.
Eliminate Layout Shift and Video Autoplay Bloat
Direct answer: Reserve the viewer’s final dimensions, preload only the poster required for the first viewport, and replace autoplay background video with click-to-play media. Keeping the product canvas, controls, and surrounding content inside predictable containers prevents visual jumps while reducing simultaneous network and decoding pressure.
Every image, poster, canvas, and video needs explicit dimensions or a defined aspect ratio. Controls should occupy stable positions even while the 3D runtime loads. If a compatibility message or loading indicator appears, it should fit inside the reserved viewer area instead of inserting a new block above the page content.
Autoplay video and WebGL should not compete for bandwidth and graphics resources by default. If the page includes an animation demo, customer story, or product film, show a thumbnail and load the video only after a click. Use one primary interactive medium above the fold and move secondary experiences farther down the page.
Protect SEO on Interactive Product Pages
Direct answer: Keep titles, headings, product explanations, FAQs, image alternatives, internal links, and calls to action in crawlable HTML. Use a descriptive URL and metadata, connect the page to relevant service and educational content, and ensure the visual experience does not delay access to the information users searched for.
A fast configurator page still needs search intent alignment. The opening section should state what the solution does, who it is for, and why it matters. Supporting sections can explain integrations, performance standards, configuration logic, timelines, and measurable outcomes. Internal links should guide users from technical education to the relevant commercial service rather than repeating the same target keyword across multiple pages.
When adding structured data, use only schema that matches visible content and the page type. Performance work should not depend on injecting unnecessary scripts or duplicate markup. A clean page with accurate metadata, accessible content, and a stable rendering sequence is easier to maintain and audit.
Measure Real-World Impact Before and After Optimization
Direct answer: Establish a baseline, deploy one controlled optimization group at a time, and compare laboratory audits with field data. Track Lighthouse and PageSpeed diagnostics alongside real loading behavior, configurator launches, engagement, lead submissions, and cart actions to confirm that performance improvements support business outcomes.
Start with a repeatable test page, device profile, network condition, and geographic region. Record the initial payload, JavaScript execution time, image and video weight, model decode time, LCP, CLS, and interaction responsiveness. After implementation, run the same test conditions and document which changes produced the largest gains.
GA4 does not replace Core Web Vitals field measurement, but it helps connect technical changes with user behavior. Compare engagement rate, session depth, configurator launch rate, CTA clicks, form submissions, and purchases by device and landing page. A higher Lighthouse score is useful; a faster experience that also generates more qualified actions is the real success metric.
90+ Mobile Lighthouse Implementation Checklist
- Serve the H1, value proposition, product details, and CTA as immediate HTML.
- Display a responsive static poster before importing the WebGL runtime.
- Reserve the canvas aspect ratio and control positions to prevent CLS.
- Keep the initial model and required textures near or below a 2MB working target where product complexity allows.
- Use Draco geometry compression and KTX2 textures after proper asset cleanup.
- Lazy-load optional variants, close-up assets, video, and secondary effects.
- Move supported decoding work off the main thread and break long initialization tasks into stages.
- Test on iOS Safari and a mid-tier Android device, not only desktop Chrome.
- Verify internal links, metadata, accessible alternatives, and crawlable product content.
- Compare field behavior and conversions before and after deployment.
Build Performance Into the Configurator Architecture
A 90+ mobile Lighthouse score is a realistic engineering objective for many 3D product pages, but it is not guaranteed by one compression setting or plugin. Results depend on the full page: hosting, theme code, third-party scripts, media, model complexity, rendering effects, and the sequence in which each resource loads.
The strongest implementation starts with a performance budget and treats the poster, HTML content, WebGL runtime, assets, analytics, and commerce integration as one coordinated system. If your current product page loads slowly or your team is planning a new interactive experience, request a 3D configurator performance audit from Ink & Algorithm.